Locations Adding a New Location
Is your practice expanding? (Congratulations!) Add your new office location to your website with these steps:
- Log into your P3 Publish admin and click on Locations in the column on the left.
- Click the purple “Add New Location” button at the top right of the page.

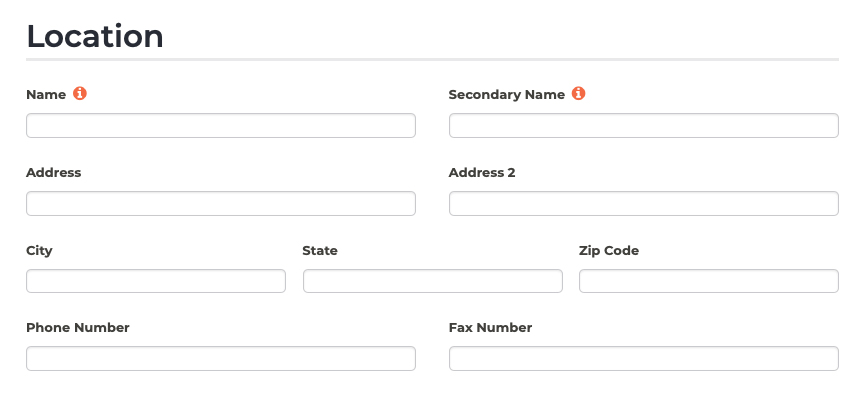
- Fill in all of the information you have for this location. If you don’t have information to provide for a particular field, leave it blank; only the sections you fill in will display on your website:
- Use the Name field to add a location name. This helps patients find the office they need in your list of locations. (Ex. New Orleans Office)
- Use the Secondary Name field if you would like to add a subheading to the location title. (Ex. Suite 2325, North Campus, Building 2010, etc.)
- Fill in the address and phone number for the location.

- Use the Location Photo section to add a photo, if you have one.

- Use the Holidays section to add information about holiday closures. (Ex. “Our office is closed for most major holidays.”)
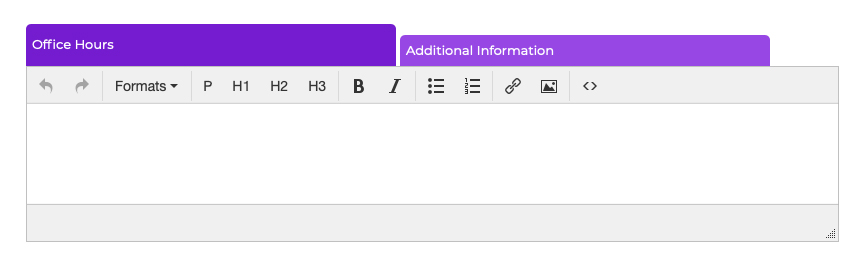
- Use the content editor to add your office hours and any additional information you would like to provide about the location (Ex. Driving Directions).

- If you are unsure about formatting, use the example data in each field for ideas.
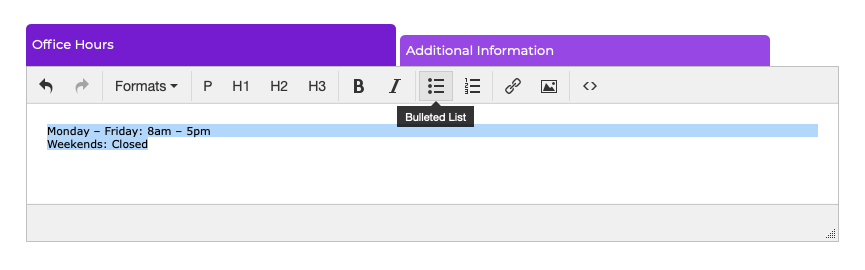
- If you’d like your office hours to appear as a list, type out the day and hours separated by a colon (Ex. Monday: 8:30am – 5pm) and hit return after each day you want to list. Once you are finished typing out each day and time, highlight all of the text and click on the Bulleted List icon. This will make your hours show up as a list on the page.
- Please note that the content editor has different tabs, so make sure you are adding the information to the correct tab.
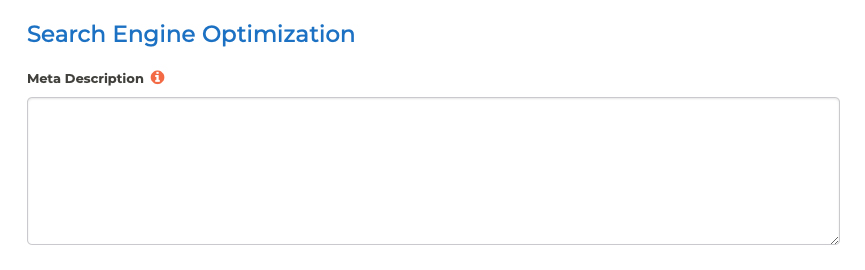
- Use the Search Engine Optimization section to customize your browser title and description, if desired.
- When you are finished adding your location information, scroll to the bottom of the page and click Save. A new page for the location will be added to your website, and the location will also automatically be added to the Locations & Hours page.


Note: You may also wish to add the new location to your Starter SEO package to get listings set up with sites like Google Maps to help establish your new location for patients searching online. Your package includes up to 2 listings, but additional listings can be added to your plan for $25/month per new location. If you are interested, contact our team for more details.
Tutorials in This Section
Need More Help?
Don’t see a tutorial you’re looking for, or have more specific questions for our team? Submit a request via our contact form, and we’ll be happy to guide you to what you need.